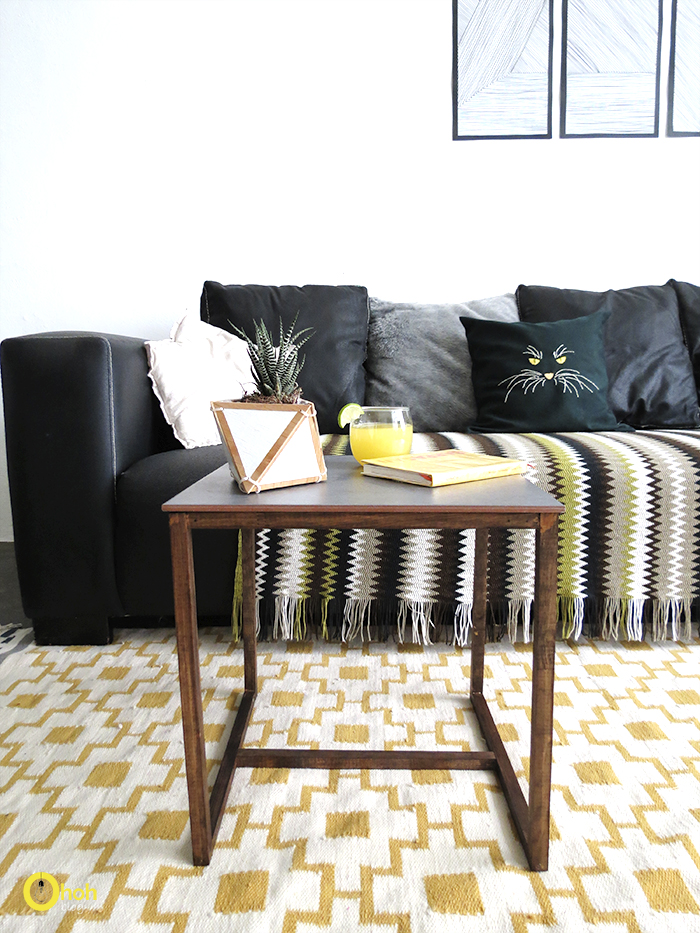
We just a have one center coffee table in our living room, so I wanted a small side table. It's practical to move it around where ever you need it. I use it for my laptop, or to keep the chips bowl on hand. The top is made using a tile (leftover from our bathroom) I just bought the dowels and the brackets...so I get a new side table for 7 dollars! Not bad!

It's quite simple to make you will need 4 brackets, square wooden dowels, a tile, silicone glue, wooden glue, smalls nails and stain.

Cut 4 pieces to make a square shape whose dimensions are the same as the tile you gonna use for the top. Screw the 4 dowels together with the brackets, leaving the gap on each corner.

Cut 4 dowels pieces to make the table feet, 16 inch is a regular high for a coffee table but you can adapt the dimension to your need. Put a dowel at each corner of the square, nail and glue them together.


Once the wooden structure is done stain it, varnish it or paint it....well just give it the finish you like!

Last step, fix the tile on the structure. Put some silicone glue on the top, place the tile and pressure them together to have a good adherence.


Wait until the silicone is completely dry and remove the pressure clamps. And ready to use! I hope you enjoy it! If you want an other idea, why don't you try this DIY recycled side table.


Here are the others DIY from my living room: